Your word allowance ran out again. Or one more language doubled the bill, or the translations keep lagging behind your edits. Whatever pushed you, you can switch WordPress translation plugins and keep the search traffic your translated pages have earned. It takes a plan, and this is it.
Why people switch 🤔
- Word-count bills that grow every time you publish
- Per-language fees that make each new market cost more
- Stored translations that don’t follow your edits
- Setup friction, like DNS changes or translating posts one by one
Still choosing where to go? Read how to choose the best WordPress translation plugin first.
Take stock before you touch anything 📋
- List your translated URLs. Note how your current tool addresses each language: folders (/fr/about/), subdomains (fr.example.com) or parameters.
- Find your best pages. In Google Search Console, open the Performance report and filter by page. Write down the translated pages that bring in clicks.
- Export your glossary. Copy out every term you set a rule for.
- List manual edits. If you hand-corrected translations on key pages, note which ones so you can check them after the switch.
- Back up. Site and database, before you change anything.
Step 1: Try TranslateWP on staging 🧪
Test on a staging copy first so visitors never see two language switchers at once.
Install TranslateWP from Plugins > Add New. With another translation plugin active, TranslateWP shows a warning but keeps working, which makes side-by-side comparison easy.
Step 2: Connect it and bring your glossary over 🔌
Click Connect and approve the site. TranslateWP reads your site and suggests a description, style and tone. Adjust them to match the voice your visitors already know.
Then add the terms from your old glossary to the Lexicon. Lexicon rules override the AI, and the Lexicon is free.
Step 3: Pick the same languages 🌐
Choose the languages you already offer. Your front page and menu pages are translated straight away, and every other page on its first visit in each language.
There’s no import step. TranslateWP translates your pages fresh, in context, from your live content.
Step 4: Redirect old language URLs ↪️
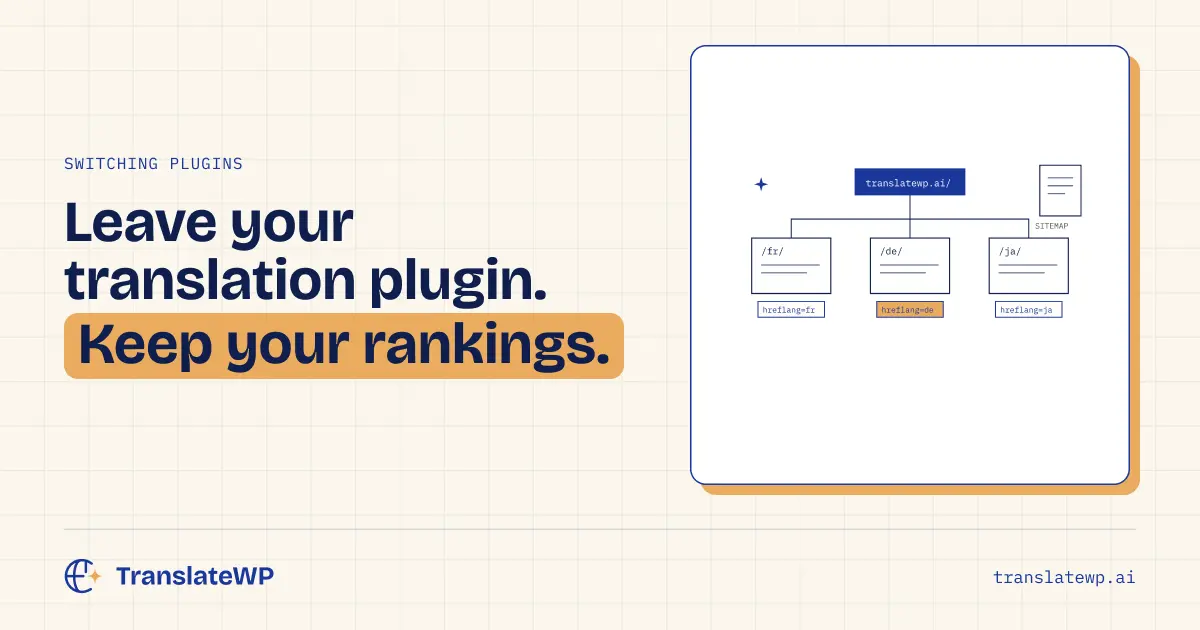
This step protects your traffic. Each translated page in TranslateWP has its own language folder, such as /fr/about/, with the page slug in your original language. Old translated URLs that differ from those addresses need permanent (301) redirects to them.
| Old URL | Redirect to |
|---|---|
| /fr/a-propos/ | /fr/about/ |
| /de/preise/ | /de/pricing/ |
| French-language subdomain: /about/ | /fr/about/ |
Use a redirect plugin or the redirect tool in your SEO plugin. Start with the pages you found in Search Console, then add a pattern rule for everything else.
If your old tool served a language on a subdomain through its own servers, point that subdomain back at your site first. Otherwise the redirect has nowhere to run.
One more thing on URL format: TranslateWP keeps page slugs in your original language, so a French page lives at /fr/about/, not /fr/a-propos/. If your old tool translated slugs, redirect each one to its folder address.
Step 5: Tell search engines 🔍
Every plan outputs hreflang tags with x-default and a per-language canonical tag. TranslateWP Pro also adds:
- Translated sitemaps that work with WordPress core and Yoast SEO
- Translated SEO titles, meta descriptions and structured data
- IndexNow pings as soon as a translation is ready
Submit your sitemap in Google Search Console once you’re live. The details are in our guide to multilingual SEO for WordPress.
Step 6: Go live 🚀
When staging looks right, repeat the setup on the live site, add the redirects and deactivate the old plugin. Keep its data and your backup until you’re sure everything works.
Check the switcher. TranslateWP adds a floating one by default, or use a menu item, block, widget or shortcode.
Step 7: Fine-tune 📊
For the first few weeks:
- Watch coverage climb per language in the TranslateWP dashboard.
- Check the top pages on the list you made earlier.
- Fix any sentence on the page with Orbital (Pro); your correction stays until the original changes.
- Keep an eye on clicks and indexing in Search Console.
Switching checklist ✅
☐ List translated URLs and their format
☐ Note top translated pages in Search Console
☐ Export glossary terms and list manual edits
☐ Back up your site
☐ Set up TranslateWP on staging
☐ Add glossary terms to the Lexicon
☐ Pick the same languages
☐ Add 301 redirects from old language URLs
☐ Turn on Pro SEO and submit your sitemap
☐ Go live and deactivate the old plugin
☐ Check top pages and Search Console
After the move there is no word-count billing and no charge per language, and one Pro purchase covers every site on your account. For the full cost picture, see what it costs to translate a WordPress site.
FAQ ❓
Will I lose my rankings if I switch translation plugins?
No plugin or migration plan can guarantee rankings. Add 301 redirects from old language URLs to the corresponding new ones, submit your sitemap, and monitor indexing and traffic.
Can I import translations from my old plugin?
No. TranslateWP translates your pages fresh, in context, from your live content. Use the Lexicon for key terms and Pro’s on-page editing for any sentence you want to adjust.
Can I run two translation plugins at once?
On staging, yes: TranslateWP warns you and keeps working. On your live site, run one at a time.
How long does it take to switch WordPress translation plugins?
Setup takes a few minutes. Allow an afternoon for redirects and checks, more if you have a lot of translated pages.
Founders deal, until 7 December 2026, 23:59 Amsterdam time: $59 per year, renewing at $59 while your subscription stays active, or $249 once, for life. Get the founders deal. Lifetime has no renewal and lasts for as long as TranslateWP is offered, subject to fair use. Prices exclude VAT; USD and EUR use the same numbers.